How to Embroider: A Complete Beginner’s Guide
Table of Contents
Embroidery is one of the most timeless and versatile art forms in the world. Whether you’re using a Brother embroidery machine or stitching by hand, knowing how to embroider can unlock endless creative possibilities.
This guide will take you step-by-step through the process, from understanding what is embroidery to learning advanced tips and even how to remove embroidery if needed. By the end, you’ll have everything you need to start stitching beautiful designs.
What Is Embroidery?
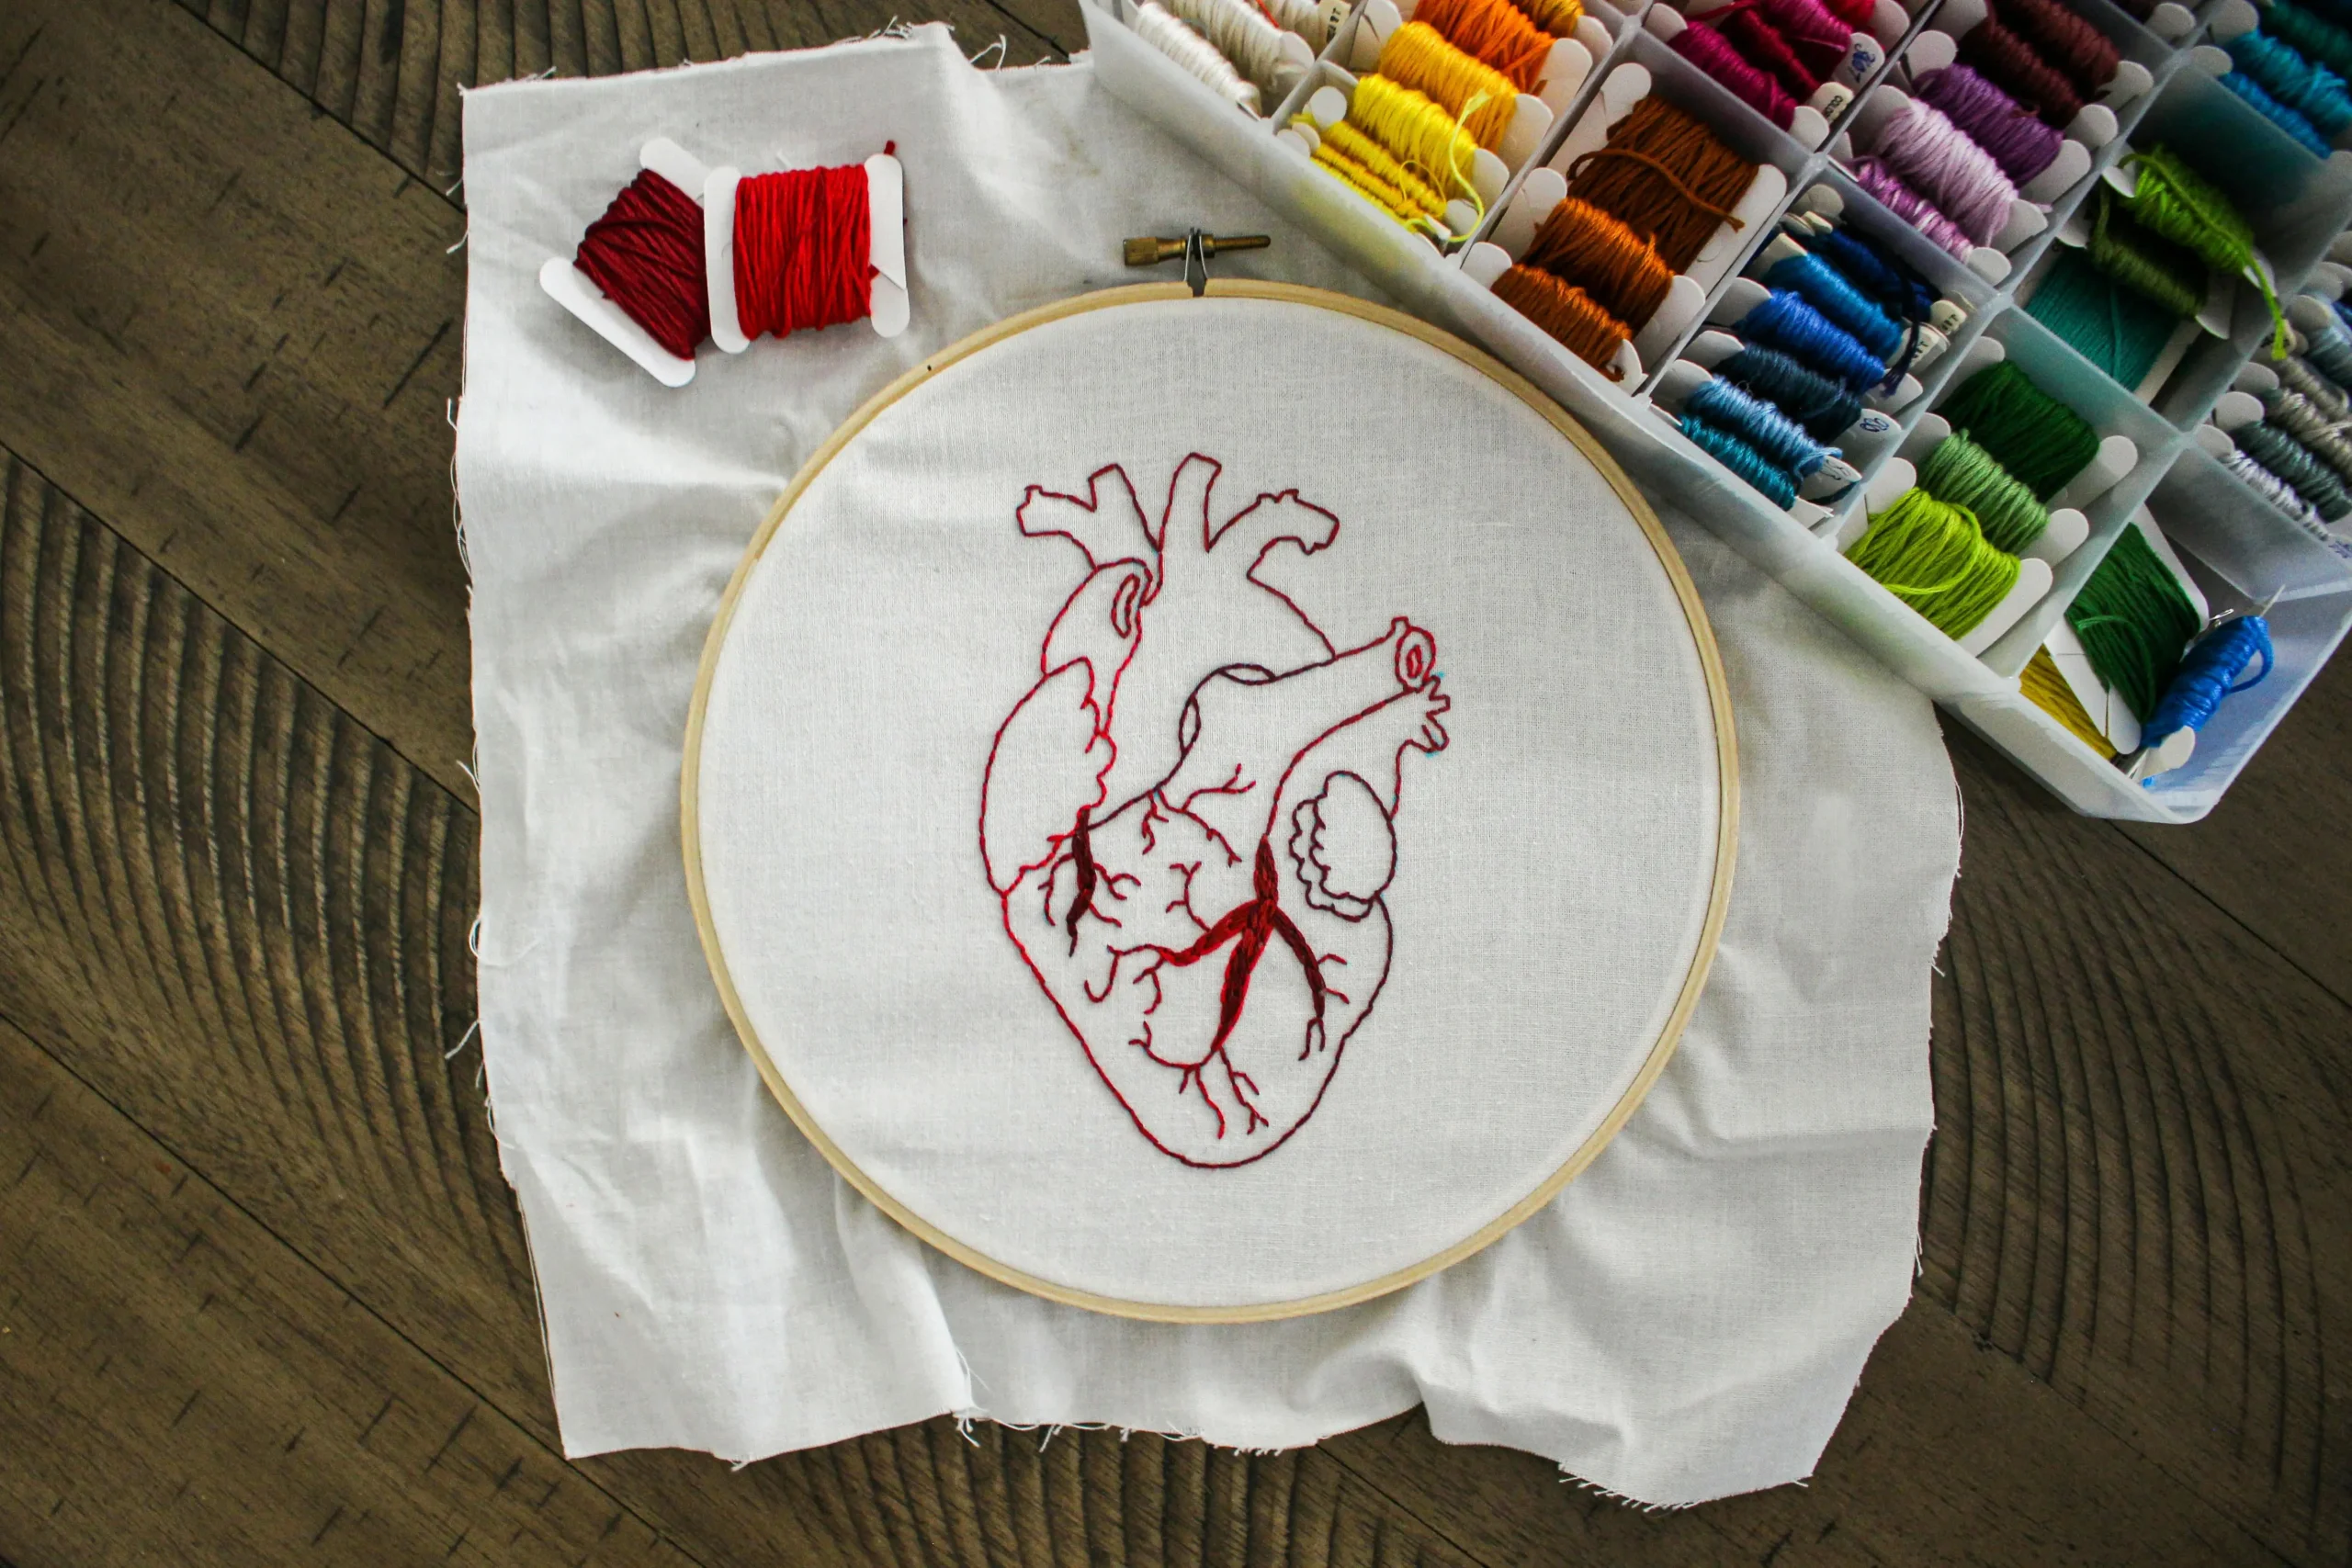
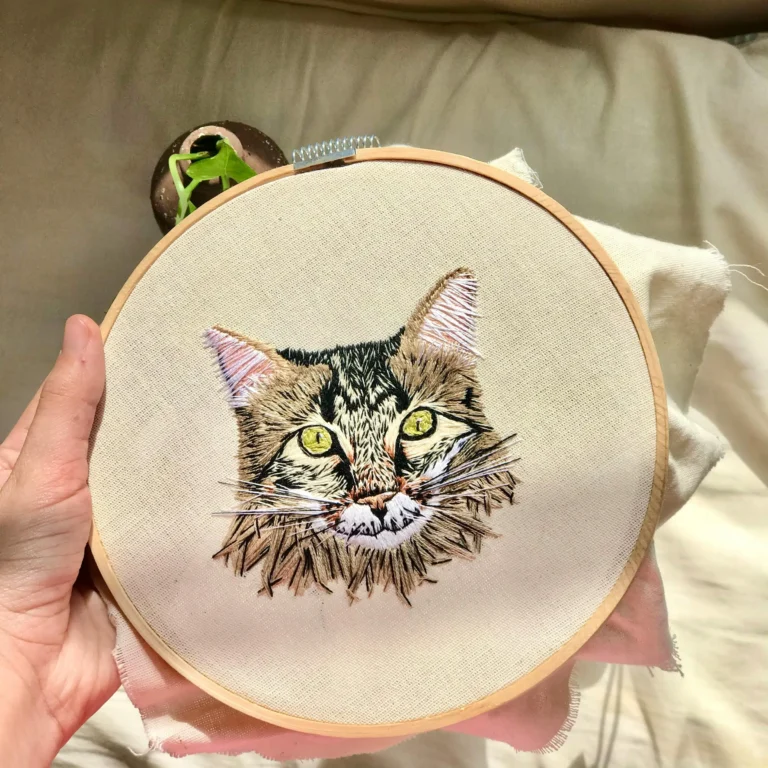
Embroidery is the art of decorating fabric using a needle and thread (or yarn). It can be done by hand or with specialized machines.
Historically, embroidery was a symbol of luxury and craftsmanship, found on royal garments, religious textiles, and ceremonial items. Today, it’s enjoyed by hobbyists and professionals alike for home décor, fashion, and custom gifts.
Common embroidery styles include:
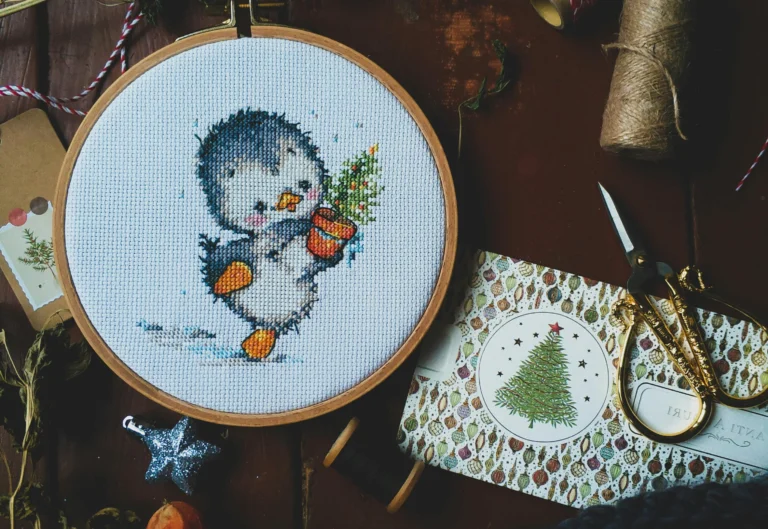
- Cross-stitch – Great for beginners
- Satin stitch – Smooth and shiny thread coverage
- French knots – Textured, raised designs
- Appliqué – Sewing fabric shapes onto a base cloth
Tools You Need to Start Embroidering
Before learning how do you embroider, gather the essentials:
- Fabric – Cotton, linen, or even denim
- Embroidery hoop – Keeps fabric taut
- Needles – Choose sizes suitable for your fabric
- Thread – Cotton floss, silk, or metallic threads
- Scissors – Small, sharp embroidery scissors
- Pattern – Printed or hand-drawn
- Marking tools – Water-soluble pens or chalk
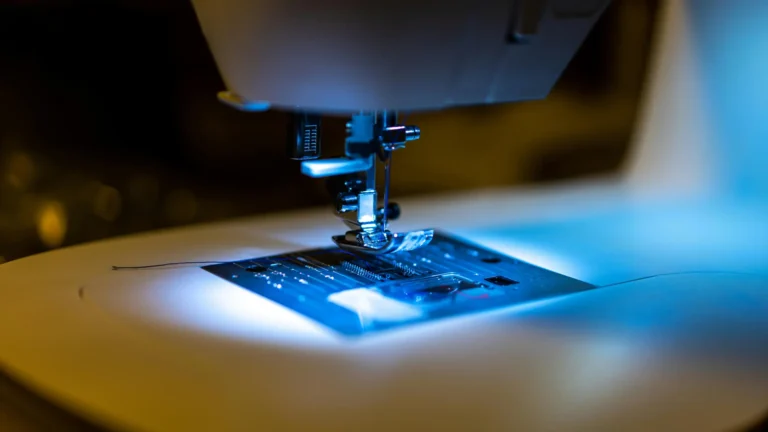
If you prefer machine embroidery, a Brother embroidery machine can speed up the process and offer precision.
How to Embroider by Hand: Step-by-Step
Step 1: Prepare Your Fabric
- Wash and iron the fabric to prevent shrinkage later.
- Mark your design using a light pen or tracing method.
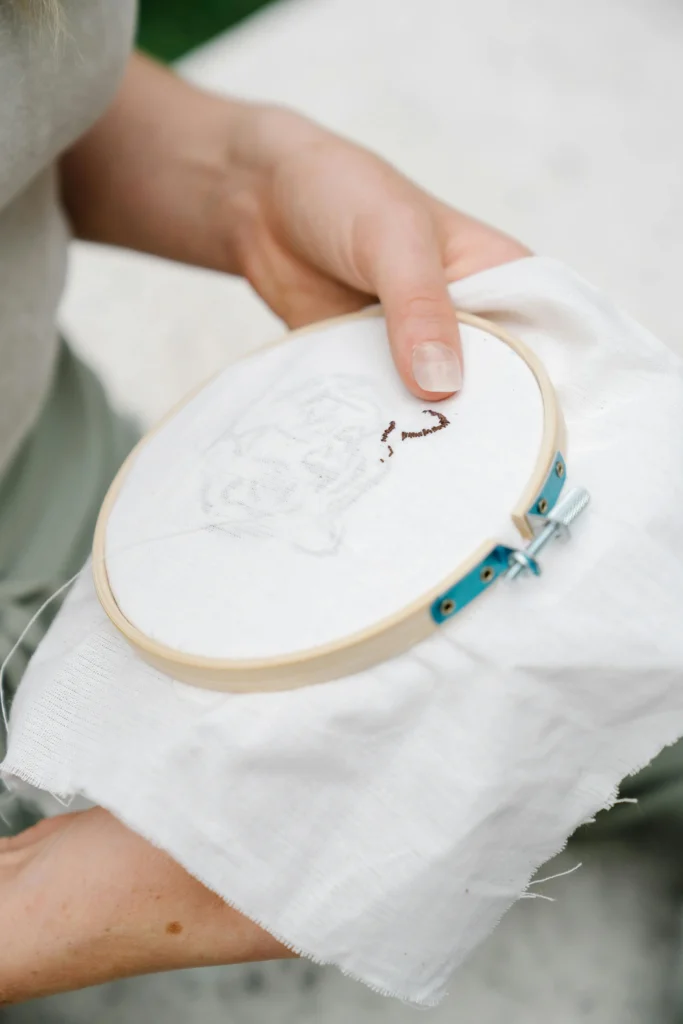
Step 2: Set Up the Hoop
- Separate the inner and outer rings.
- Place the fabric over the inner ring, then secure with the outer ring.
- Tighten the screw to keep fabric taut.
Step 3: Thread the Needle
- Cut about 18 inches of thread (to avoid tangles).
- Tie a small knot at one end.
Step 4: Start Stitching
- Use simple stitches like running stitch, backstitch, or split stitch to begin.
- Keep stitches even and tension consistent.
Step 5: Finish and Secure
- Tie off the thread at the back of the fabric.
- Trim excess threads neatly.
How to Do Embroidery with a Machine
Machine embroidery offers speed and consistency, making it ideal for businesses or larger projects.
- Choose a design – Load your pattern into the machine.
- Hoop the fabric – Use stabilizers to prevent puckering.
- Thread the machine – Follow the manufacturer’s guide.
- Start stitching – Let the machine complete the design.
For beginners, models like the Brother embroidery machine come with built-in patterns and tutorials.
How to Remove Embroidery
Mistakes happen — luckily, embroidery can be removed without ruining the fabric if done carefully.
- Turn the fabric over – Work from the back.
- Use a seam ripper or small scissors – Gently cut the stitches.
- Pull threads out with tweezers – Avoid stretching the fabric.
- Remove residue – Use a lint roller or soft brush.
Beginner Tips for Successful Embroidery
- Start with simple designs before moving to complex ones.
- Practice stitches on scrap fabric.
- Use good lighting to avoid eye strain.
- Take breaks to maintain accuracy and comfort.
Where to Learn More
For more embroidery inspiration, you can check out DMC’s free embroidery patterns or visit our own guide on choosing embroidery patterns for beginners.
Suggested Image for SEO
Filename: embroidery-flowers-modern.jpg
Alt Text: how to embroider floral patterns on fabric
FAQ – How to Embroider
Q1: How do you embroider without a hoop?
You can embroider without a hoop, but it’s harder to maintain tension. Keep your fabric taut with your hands for best results.
Q2: Can embroidery be removed and redone?
Yes, embroidery can be removed using a seam ripper or small scissors. Be patient to avoid damaging the fabric.
Q3: How to embroidery letters on fabric?
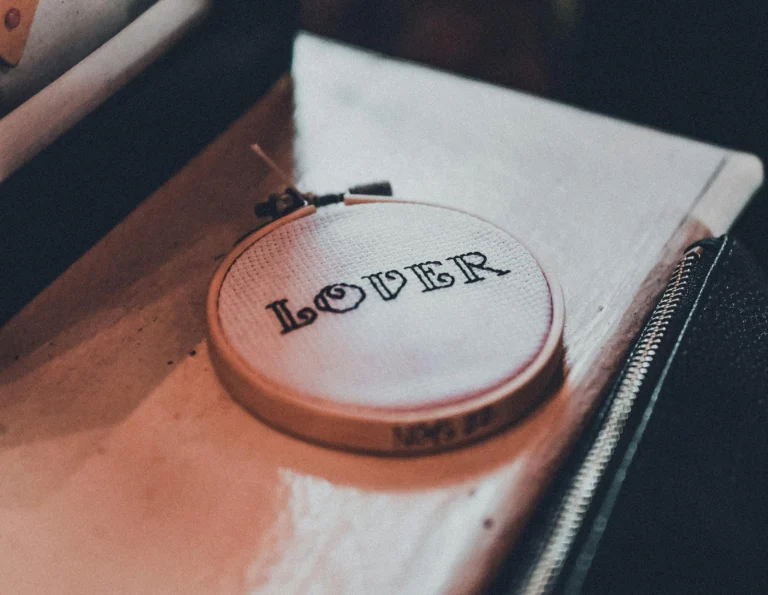
Use backstitch or chain stitch for clean letter shapes. Trace the letters lightly first to guide your stitches.
Q4: What’s the easiest stitch for beginners?
The running stitch is the simplest and perfect for those learning how to embroider for the first time.
Q5: Do I need a Brother embroidery machine to start?
No, you can begin with hand embroidery, but a Brother embroidery machine can help with speed and precision for larger projects.
